Content
How to reserve exam dates for your course
Click Reserve to log in with either your Username or NUID.
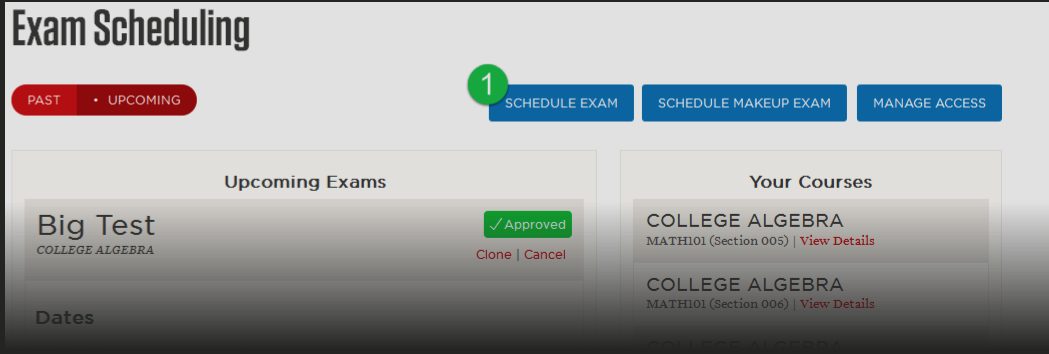
Step 1.
Click SCHEDULE EXAM to begin creating your testing reservation.
Step 2.
Enter the Exam Details in the areas provided.
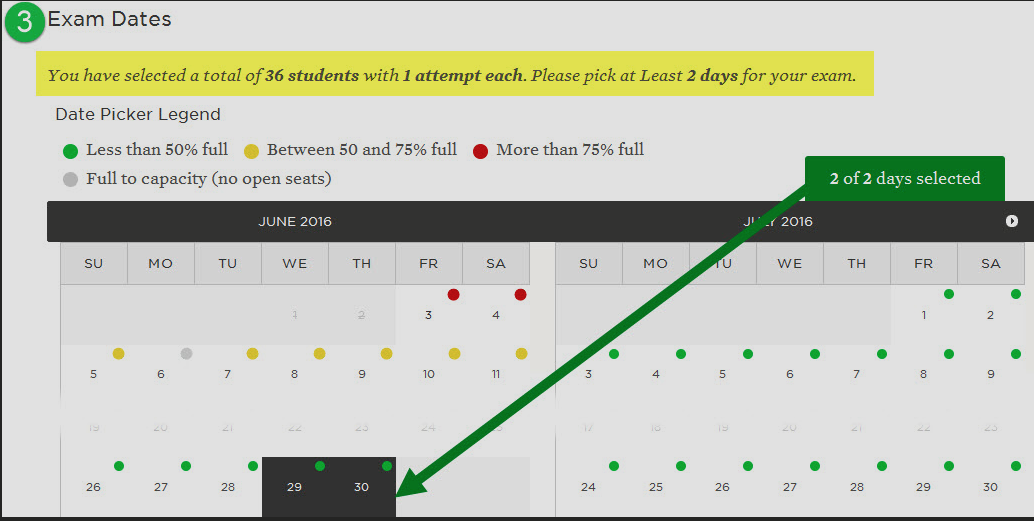
Step 3.
In the Exam Dates section, you’ll be given a minimum number of days to accommodate all students. Click the dates to have the exam available to students. The dates will toggle on/off with each click.
Step 4.
In the Contact List section, provide at least one person who can speak on your behalf regarding this exam should you be unavailable in the order to be contacted.

Step 5.
After you have read the DLC Terms & Conditions, select the checkbox, and then SUBMIT FOR APPROVAL.

Step 6.
Your request is now submitted.

Manage Existing Requests
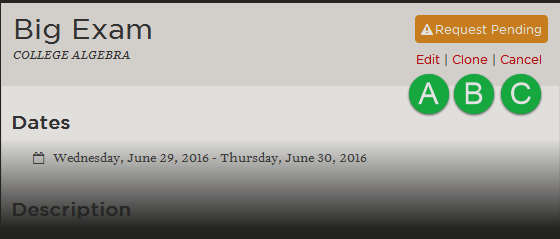
A. Edit a Request
Click the Edit link and then make the necessary changes before you click SUBMIT FOR APPROVAL.
B. Cancel a Request
Click the Cancel link and then click the CANCEL THIS EXAM button.
C. Clone a Request or Approved Exam
Click the Clone link and make the necessary changes before you click SUBMIT FOR APPROVAL.